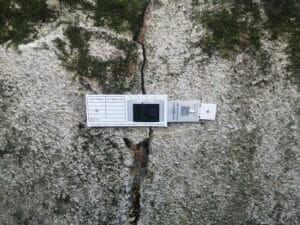
G1+ Gauge
152,00€ w/o VAT per box 10 unitsFor inside and outside : weather-resistant. Resolution: 0,05mm. With easy direct readout.
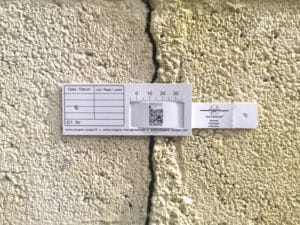
G1 Gauge
127,10€ w/o VAT per box 10 unitsFor inside and outside : weather-resistant. Resolution: 0,1 mm.
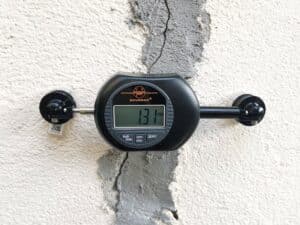
E1 gauge – Digital crackmeter
304,50€ w/o VAT with 5 pairs of P1E1 plates (for 5 cracks)Removable digital crackmeter. 1-axis or 2-axis tracking. Resolution: 0.01 mm.
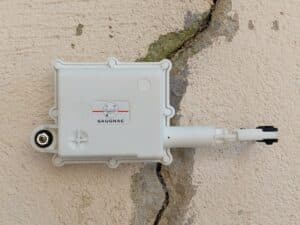
R1 gauge – Remote crackmeter
392,00€ w/o VAT with 1-year subscription includedStand-alone wireless crackmeter for remote crack monitoring. Resolution: 0.01 mm / 0.1°C / 1% RH.
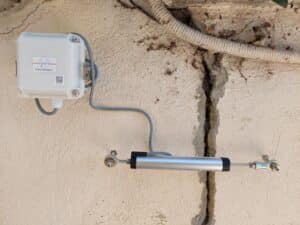
R2 Gauge – Large-range connected crack monitor
539,00€ w/o VATLarge-range connected crack monitor (up to 100 mm). Resolution: 0.01 mm / 0.1°C / 1% RH.
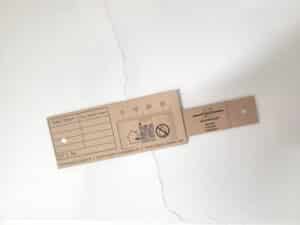
G1.1 Gauge
82,00€ w/o VAT per box 10 unitsFor interior use only, particularly in dry rooms. Resolution: 0,1mm.
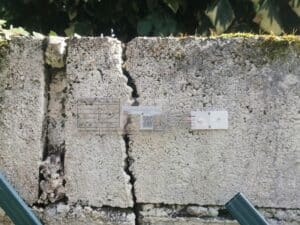
G1.2 Gauge
92,00€ w/o VAT per box 5 unitsTransparent for interior and exterior quality structures. Resolution: 0,1mm.
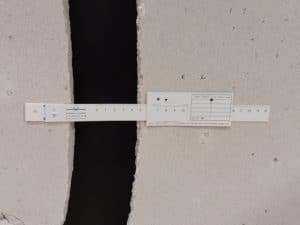
G1.3 Gauge
197,00€ w/o VAT per box 5 unitsFor larger gaps between 2 and 17 cm. Reusable. Accurate to 1/10th of a mm.
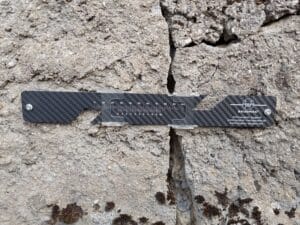
G1.5 Gauge
128,50€ w/o VATStainless carbon. Reusable. Resolution: 0.02 mm.
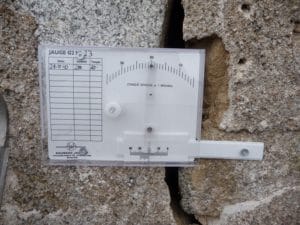
G2 Gauge
188,50€ w/o VAT per unit with protective casingRecord the maximum/minimum variation on graduated scale. Resolution: 0,1 mm.
Crack width monitoring helps assess the stability of structures affected by structural damage (differential movements, shrinkage, settlement, internal stresses, or delayed pathologies).
When a linear crack evolves along a dominant axis of displacement—usually horizontal or vertical—it is appropriate to use a unidirectional sensor.
This type of monitoring is particularly relevant for cracks with parallel lips. Regular monitoring of the opening helps distinguish between an active crack—one that is progressing over time—and a stabilized defect, which determines the nature and urgency of the required intervention (enhanced monitoring, structural repair, preventive treatment, etc.).
One-axis crack monitoring aims to accurately measure the evolution of the crack width when the relative displacement of the lips occurs in a single direction.
This type of monitoring applies to both vertical and horizontal cracks. The same measuring device is used in both cases—only its orientation changes, ensuring that it is always positioned perpendicular to the crack.
Maximum amplitude, rate of change, correlation with temperature, and opening/closing cycles are key indicators used to analyze the phenomenon. The goal is to precisely quantify the crack width variations. Our instruments provide reliable monitoring with a resolution of up to 0.01 mm.
Measurement can be performed manually or electronically using a unidirectional crack gauge.
Depending on the substrate and the type of instrument used, the gauge can be installed using adhesive or mechanical fasteners. The crack monitor is mounted on either side of the crack, perpendicular to it, aligned with the main opening movement axis.
Precise positioning is essential to ensure reliable monitoring of width changes at regular intervals along a defined axis. This type of instrument measures only the opening or closing movement. For more complex displacements involving both width and shear, two-axis (bidirectional) or three-axis (3D) monitoring solutions are required.
Data can be collected manually (using a mechanical or digital removable gauge) or transmitted continuously by a connected system.
The choice between manual and automatic data collection depends on the duration of observation (one-time diagnosis or long-term monitoring plan), the accessibility of the cracked area, and the required frequency of measurements (every 24 hours, weekly, etc.).
G1 gauge: A simple, robust instrument for manual one-axis crack monitoring. Easy to install and read, it offers 0.1 mm resolution and is ideal for periodic or short-term monitoring where automated data collection is not required.
E1 gauge: Designed to monitor crack evolution along one axis. Its digital display allows for precise reading at each measurement with a 0.01 mm resolution. The patented removable system and carbon reference standard ensure repeatable measurements.
R1 gauge: A connected measuring device with data transmission capability. It enables continuous one-axis crack monitoring for structures requiring ongoing observation (sensitive buildings, bridges, historical monuments). This linear sensor also provides 0.01 mm resolution.